Grab your camera and get out in that rain!
It had been raining a lot and I finally had a chance to grab my camera and head to one of my favorite spots, the Conservation Garden Park in West Jordan, Utah. If you have desires to take beautiful rainy day photos, continue reading for ideas on how to get some great shots.


Protective gear for rainy day photography
I've learned from experience to grab and umbrella to protect my gear. It is a little tricky holding it, but I manage, Honestly, I've considered getting one of those umbrella hats, so I can have both hands on my camera!
Make sure your clothing and umbrella are a neutral color, so unwanted colors won't bounce into your camera and ruin your photographs.
I also have a camera bag that has a removable waterproof covering, essential to protect your gear. A plastic bag works too!


Camera & lenses for rainy day photography
I love my EOS M50 mirrorless camera. It is affordable enough that I wouldn't be completely devastated if it was damaged, yet I have been very happy with the quality of photographs I've been able to get with it. I've been able to enlarge many of my prints to display in my home, without any problem.
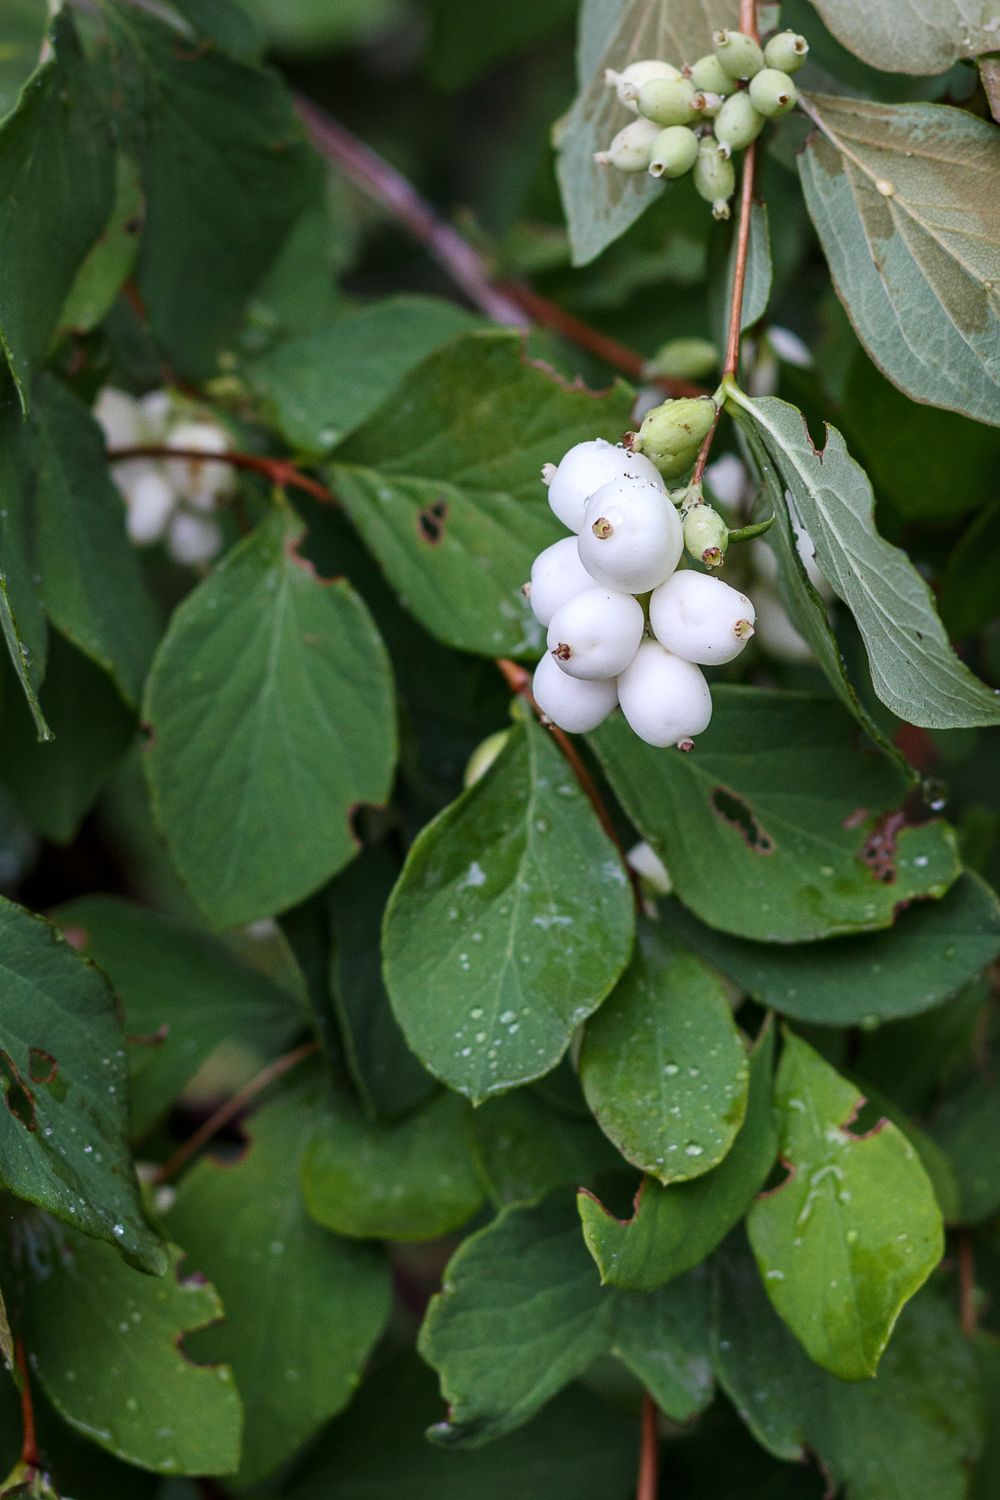
The lens I used for these macro shots is the sweet, little Canon EFS 24mm auto focus macro lens. It is light and easy to maneuver in close spaces.


Rainy day photography and lighting
Cloud cover offers wonderful diffusion of light, creating an ideal environment for rainy day photography. Time of day can vary. I actually got out and started shooting a little later than I had wanted, about 7pm (in August) If I would have been there a little sooner I would have been able to have a little more light and be able to keep the ISO lower, but a little dark moodiness also works well for this type of photography. You want the sun to be up, but behind the clouds, in my opinion. I do not typically use flash for closeup photography.


Manual mode camera settings
I love having full control over what is going on in my camera. Through trial and error, I recommend starting out at ISO 100, and only increasing it if needed once you've set your other two settings. The more you raise your ISO, the more likely you will get a grainy looking photo.
I recommend setting your aperture set between f 4.0 - f 8.0 for macro photography, depending on the look you want. If you want a dreamy, blurry look; set your aperture 4.0 or wider (depending on how close you are to your object). The lower the number, the more blurry the look will be. You may want that, but keep in mind that some parts of the object may not look as clear and crisp. You can move further away from the object for more of your object to be in focus, and still have a blurry background.
Depending on your light, set your shutter speed as low as 1/60 if you can manage to hold the camera very still by hand, or as slow as you want if you have a tripod. I prefer using my hands, but there are situations that a tripod is necessary. The slower the shutter speed, the more light will be able to flow in and you will have a nice bright photo. However, there is nothing wrong with having your shutter speed as fast as 1/250 or higher if your lighting allows it, as it will better guarantee you a nice crisp image. Practice tucking your elbows into your body to stabilize your hand and camera as you make your shot.
